This project provides an AI-powered project management assistant that integrates with ClickUp to help manage tasks, lists, and workspaces. It demonstrates building an intelligent agent system with LangGraph that can interface with external APIs.
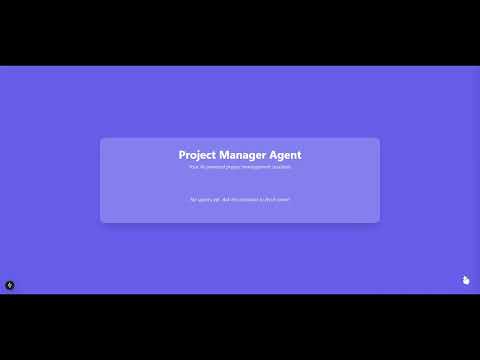
Click the image above to watch the demo video on YouTube
Alternatively, you can download the demo video to watch locally.
The project consists of two main components:
- Python Agent: A LangGraph-powered agent that interfaces with the ClickUp API
- Next.js UI: A modern web interface built with React and CopilotKit
The agent can perform various project management tasks including:
- Retrieving and displaying ClickUp spaces and lists
- Creating, updating, and deleting tasks
- Setting custom field values
- Managing project timelines and assignees
- LangGraph/LangChain for agent orchestration
- Google Gemini for AI processing (primary LLM)
- FastAPI for API endpoints
- CopilotKit for agent integration
- Next.js for the React framework
- CopilotKit UI components
- TypeScript for type safety
- TailwindCSS for styling
- Python 3.10+ (Python 3.12 recommended)
- Node.js and pnpm for the UI
- Navigate to the agent directory:
cd agent-py- Create a virtual environment:
# Using PowerShell
.\setup.ps1

# Or using CMD
setup.bat
Alternatively, you can set up manually:
python -m venv venv
.\venv\Scripts\activate  # Windows
source venv/bin/activate  # Mac/Linux
pip install -r requirements.txt
pip install -e .- Create a
.envfile in theagent-pydirectory with:
OPENAI_API_KEY=...  # For OpenAI LLM (optional)
GEMINI_KEY=...      # For Google Gemini LLM (required)
CLICKUP_API_KEY=... # Your ClickUp API key
CLICKUP_TEAM_ID=... # Your ClickUp Team ID
- Run the demo:
uvicorn project_manager_agent.demo:app- Navigate to the UI directory:
cd ui- Install dependencies:
pnpm i- Create a
.envfile inside./uiwith:
OPENAI_API_KEY=... # Required for CopilotKit
- Start the development server:
pnpm run dev- Start both the agent server and the UI server
- Navigate to http://localhost:3000
- Interact with the Project Management Assistant through the sidebar
You can ask the agent to:
- Show your ClickUp spaces
- Create new tasks
- Update existing tasks
- Check project timelines
- And more...
For development and debugging, you can use LangGraph studio:
- Run LangGraph studio
- Load the
./agent-pyfolder into it - Ensure your
.envfile is properly configured
Common issues:
- Make sure no other application is running on port 8000
- If you have connectivity issues, try changing the host in
project_manager_agent/demo.pyfrom0.0.0.0to127.0.0.1orlocalhost - Ensure all required API keys are set in your
.envfiles - Check that your ClickUp API key has the necessary permissions